


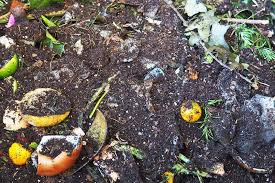
Composting is the natural process in which microorganisms break down food scraps and other organic matter with air and moisture. The result is a dark, crumbly soil amendment that supports healthy plant growth.
Fruit and vegetable peels, coffee grounds, tea leaves, eggshells, and other suitable kitchen leftovers can become useful compost instead of joining mixed household rubbish. Dry leaves, shredded cardboard, and plain paper help balance wet scraps.
When food waste goes into a landfill, it breaks down under conditions that can produce methane, a greenhouse gas. Home composting can keep suitable organic materials in a useful nutrient cycle.
You do not need a garden, expensive equipment, or specialist training to begin. A ventilated bucket, dry browns, a small collection of scraps, and regular care are enough for a basic system.
Successful composting depends on four essentials: carbon-rich browns, nitrogen-rich greens, oxygen, and moisture. Keeping these elements balanced helps microorganisms work steadily while reducing unpleasant smells, excess moisture, and slow decomposition.
Read Also: Types of Solid Waste and Sources of Solid Waste
Why Compost Kitchen Waste at Home
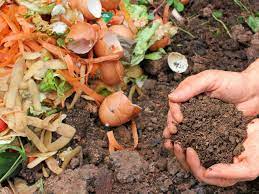
Turning kitchen scraps into compost helps reduce the amount of wet organic rubbish placed in household bins. These simple waste reduction habits also make everyday resource use more responsible at home.
Compost returns organic matter to soil, improving structure and helping it hold water. It complements practical household waste management routines by separating biodegradable scraps before collection or disposal each day.
Food scraps form a major part of everyday household refuse, and poor handling can attract pests. Understanding the wider effects of discarded waste shows why sorting organics matters before disposal.
Home composting can also help families grow healthier garden plants, reduce purchases of some soil amendments, and develop more responsible habits. Children can participate by separating suitable scraps and observing decomposition safely.
What Kitchen Waste Can You Compost?
1. Green Materials: Fresh fruit and vegetable scraps, coffee grounds, tea leaves, and crushed eggshells supply nitrogen and moisture. These are typical biodegradable household discards that microorganisms can break down readily in a managed compost pile.
2. Brown Materials: Carbon-rich browns include dry leaves, plain shredded cardboard, untreated sawdust, straw, and uncoated paper. Adding these materials while separating waste by material improves airflow and absorbs excess liquid from fresh scraps.
3. Suitable Paper and Eggshells: Crushed eggshells can add texture, while uncoated coffee filters and plain paper tea bags may also compost if they contain no plastic. Always remove stickers, staples, and synthetic packaging first.
4. Materials to Avoid: Avoid meat, fish, bones, dairy products, oils, grease, pet waste, and chemically treated materials in a basic home bin. They can attract animals, create odours, or introduce unwanted contaminants during decomposition.
5. Cooked Food Scraps: Small amounts of plain cooked plant foods may work, but oily sauces, salty meals, and large portions can cause problems. For beginners, fresh uncooked fruit and vegetable scraps are simplest.
Kitchen scraps belong to the organic fraction of residential rubbish streams, but not every discarded item belongs in a compost bin. Always separate non-compostable packaging before adding suitable materials.
How to Make Compost from Kitchen Waste Step by Step
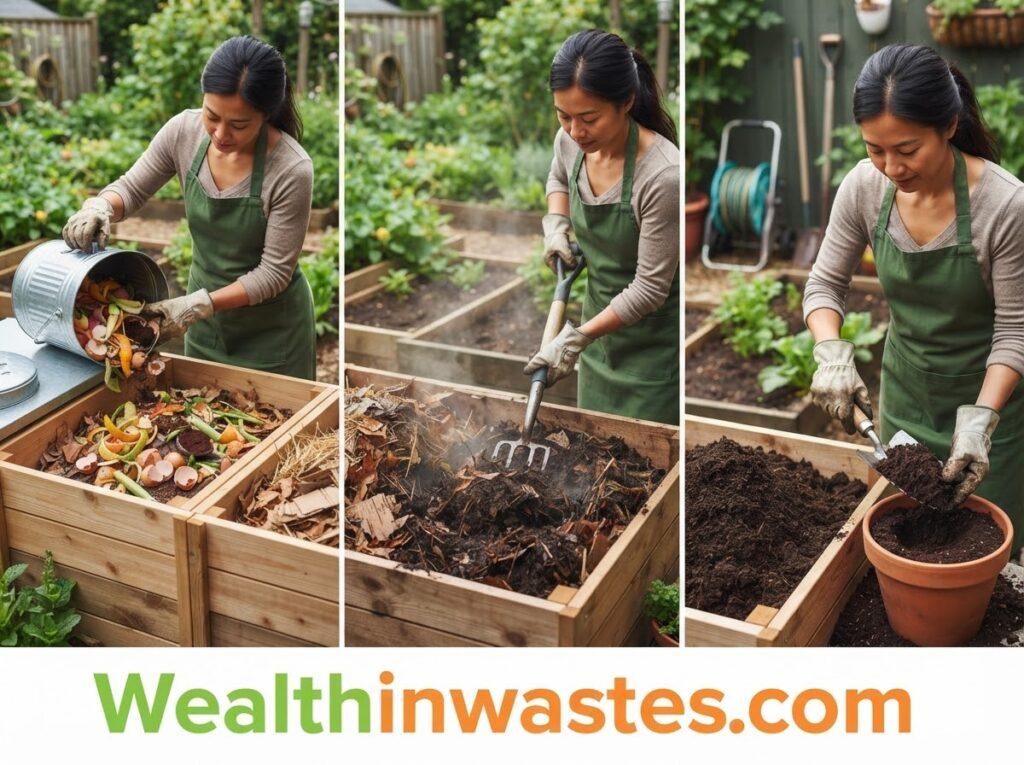
1. Choose a Suitable Location: Choose a shaded, well-drained spot near water, then use a bucket, earthen pot, wooden box, or outdoor bin. Keep the container accessible, with good airflow and drainage.
2. Prepare the Container: Drill several small drainage and ventilation holes around the container, including its lower sides, and ensure excess liquid can escape. Place the bin on soil or a raised, stable surface with good airflow.
3. Create the Base Layer: Start with a layer of coarse dry leaves, small twigs, or shredded cardboard. This base absorbs some liquid and creates air spaces, helping prevent a soggy, oxygen-poor bottom in the bin.
4. Alternate Wet and Dry Materials: Add chopped kitchen scraps in a thin layer, then cover them with two or three times their volume of dry browns. This simple household sorting routine limits exposed food and discourages pests.
5. Control Moisture and Cover the Bin: Sprinkle water over dry layers until the mix feels like a wrung-out sponge, not a dripping cloth. Cover the top loosely to retain moisture while allowing air exchange through ventilation holes.
6. Turn the Compost Regularly: Turn or mix the contents every few days, burying scraps beneath browns each time. Good aeration helps decomposition and reduces reliance on landfill disposal for suitable kitchen organics.
How to Build a Simple Home Compost Bin
1. Use a Ventilated Bucket: A clean plastic bucket with a secure lid works on balconies or in small yards. Drill ventilation and drainage holes, then place it on a tray to catch any liquid.
2. Choose an Earthen Pot: An earthen pot or lidded terracotta container can hold a modest supply of scraps, especially in warm climates. Choose one with side openings and protect it from heavy rain.
3. Reuse Crates or Wire Mesh: Sturdy plastic crates allow airflow through their openings, while wire mesh can form a low-cost outdoor enclosure. These resourceful material-reuse ideas can reduce equipment costs. Line wide gaps with breathable mesh so scraps remain contained and pests stay out.
4. Make Maintenance Easy: Whichever design you choose, keep it sturdy, washable, ventilated, and easy to open for turning. These practical waste-control methods make home composting easier to maintain through ordinary daily routines.
5. Protect the Compost: Use a fitted lid or breathable cover to prevent excessive rain from soaking the mixture. Keep the container accessible for regular checks, and ensure water cannot collect around its base.
How to Balance Browns, Greens, Air, and Water
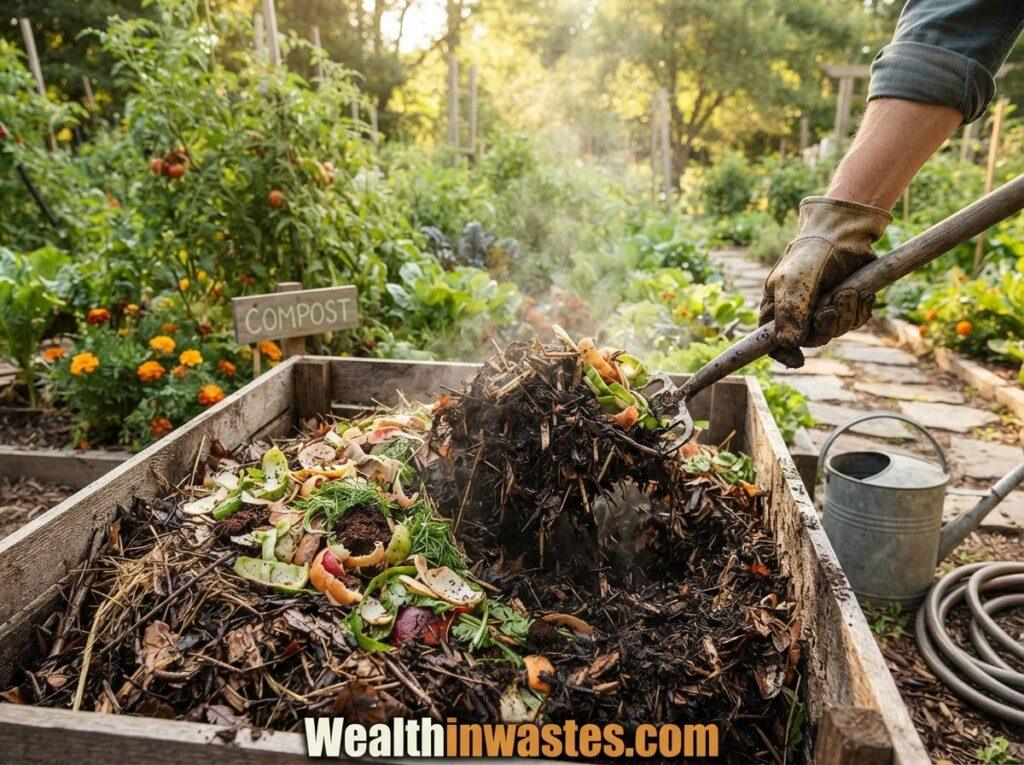
1. Add Enough Browns: Dry leaves, shredded brown paper, plain cardboard, straw, and untreated sawdust provide carbon and structure. Collect extra browns beside the bin, particularly during dry seasons, to cover each new food layer.
2. Add Suitable Greens: Fruit peels, vegetable trimmings, coffee grounds, and fresh plant clippings provide nitrogen and moisture. Add them in moderate amounts, then cover their surfaces with dry materials to discourage flies and odours.
3. Maintain the Right Proportion: As a practical starting point, mix about two to three parts browns with one part greens by volume. This resource-recovery approach favours useful organic materials before disposal whenever practical.
4. Supply Air and Water: Keep the pile as damp as a wrung-out sponge and turn it regularly to introduce oxygen. Composting supports resource recovery, but excessive water or compacted scraps can slow decomposition and create odours.
How to Maintain Compost and Solve Common Problems
1. Correct Unpleasant Odours: If the bin smells sour or rotten, it may contain excess water or too little air. Add dry browns, loosen compacted layers, and review the environmental effects of poor waste disposal.
2. Restore Moisture: If materials remain dry and unchanged, add small amounts of water and mix thoroughly. Check the centre as well as the surface, because outer layers often dry faster than inner layers.
3. Keep Pests Away: Bury each new handful of scraps beneath dry material, fit a secure lid, and exclude meat, bones, dairy, oil, pet waste, and diseased plants. Keeping organics contained supports pollution prevention through material recovery.
4. Improve Slow Decomposition: If decomposition seems slow, chop large scraps, add fresh greens when the mix is overly dry and brown, and improve airflow. These small adjustments help reduce household environmental impact over time.
When Compost Is Ready and How to Use It
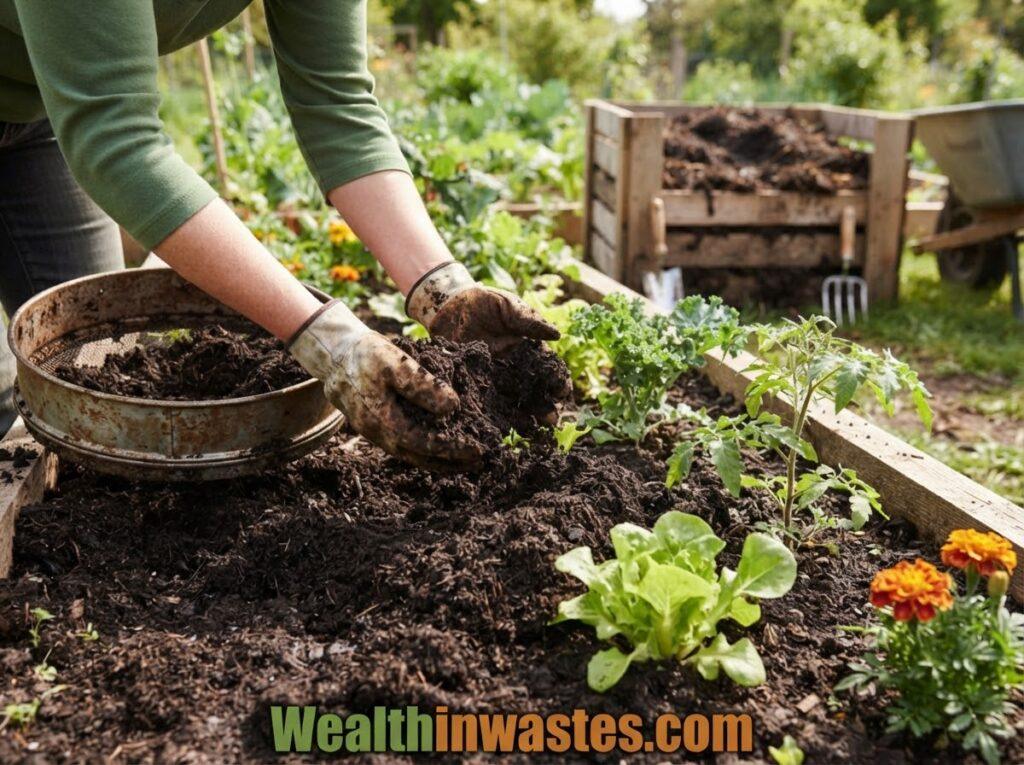
Kitchen compost may take several weeks to several months, depending on temperature, particle size, moisture, and turning. Treat time as a guide; appearance and smell provide better readiness signs for home gardeners.
Finished compost looks dark brown, feels crumbly, smells earthy, and contains few recognizable food scraps. If the centre still heats after turning or fresh pieces remain visible, allow more time.
Let nearly finished compost cure for several weeks before application, especially if the material still looks uneven. Screen out large pieces and return them to the bin for further decomposition.
Mix mature compost into garden beds or potting mixes in moderate amounts, or spread a thin layer around established plants. For sustainable gardening, consider waste-minimisation habits alongside composting at home.
Remember that compost improves soil structure and contributes organic matter, but its nutrient content varies with ingredients. Combine it with other practical waste-saving habits for a cleaner home and garden.
Before using homemade compost for edible crops, ensure the original materials were suitable and the finished product has decomposed thoroughly. Keep immature or contaminated material away from seedlings and harvested produce.
Environmental Benefits of Kitchen Waste Composting
Diverting suitable scraps reduces the volume of kitchen waste in the main bin, making household rubbish easier to manage. These daily waste-minimisation practices also encourage better sorting at the source.
Composting turns selected discarded materials into something useful for gardening instead of treating everything as rubbish. This supports the wider resource-recovery benefits associated with reducing waste and reusing valuable materials.
Finished compost contributes organic matter that improves soil structure and supports moisture retention. Gardeners can use it to improve suitable beds, support established plants, and reduce dependence on some purchased soil amendments.
A home composting routine also encourages families to notice how much food they discard. Better meal planning, careful storage, appropriate portion sizes, and composting unavoidable scraps work together to reduce household waste.
When communities combine composting with recycling and responsible disposal, they can divert more recoverable material from disposal sites. Consistent household participation can support cleaner surroundings and more efficient waste management over time.
Read Also: Concept / Definition of Solid Wastes
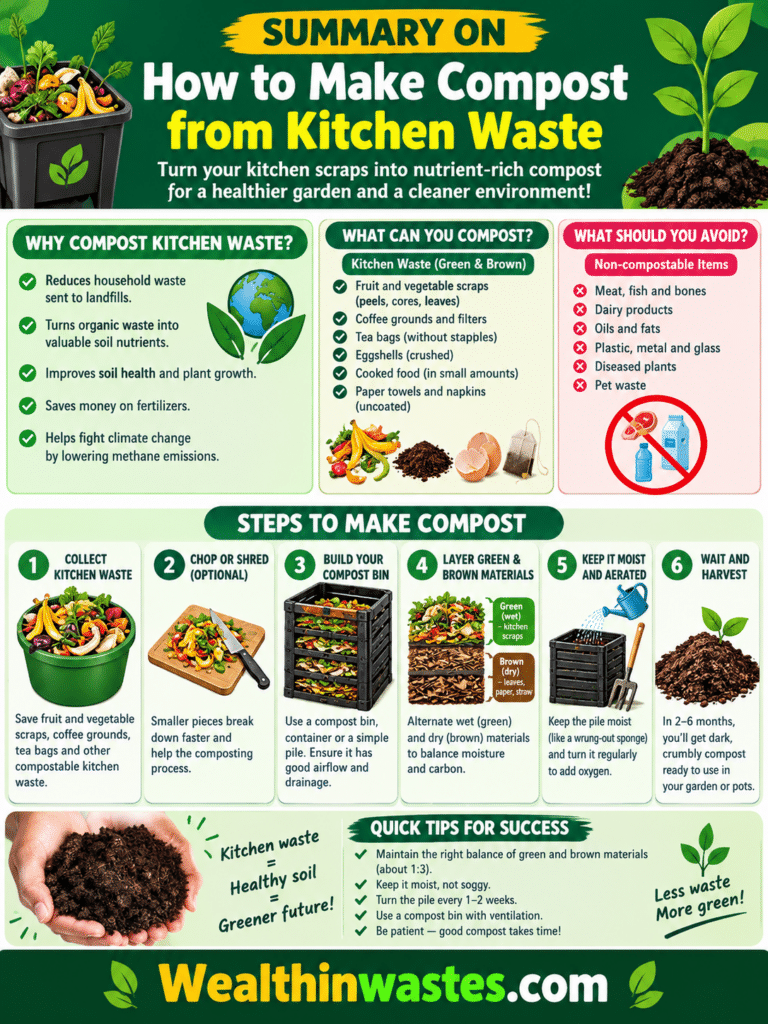
Summary on How to Make Compost from Kitchen Waste
| Topic | Key Points |
|---|---|
| Suitable Ingredients | Fruit and vegetable scraps, coffee grounds, tea leaves, eggshells, dry leaves, and untreated paper. |
| Compost Bin | Use a ventilated bucket, earthen pot, wooden box, or wire-mesh enclosure with drainage. |
| Material Balance | Begin with two to three parts browns for each part greens by volume. |
| Moisture and Air | Keep the mixture damp like a wrung-out sponge and turn it regularly. |
| Materials to Avoid | Exclude meat, fish, bones, dairy, oils, grease, pet waste, and unsuitable treated materials. |
| Readiness | Use compost when it looks dark, feels crumbly, smells earthy, and has few recognisable scraps. |
| Main Benefits | Less household waste, useful soil organic matter, improved soil structure, and better resource recovery. |
Frequently Asked Questions About How to Make Compost from Kitchen Waste
1. How long does kitchen waste take to compost?
Most small home bins need a few months, although temperature, moisture, ingredient size, and turning affect speed. Use dark colour, crumbly texture, and an earthy smell to judge maturity rather than dates.
2. What is the best ratio of brown to green materials?
Begin with two to three parts dry browns for each part greens by volume. Adjust based on moisture and smell, keeping scraps covered with dry carbon-rich material throughout the decomposition process.
3. Can I compost cooked leftovers?
Yes, small amounts of plain cooked plant foods may compost, but oily, salty, dairy-based, or meat-containing leftovers attract pests. Beginners should mainly use raw fruit and vegetable scraps for easier control.
4. Why does my compost smell bad?
A sour or rotten smell usually signals excess moisture, poor airflow, or too many greens. Mix the pile, add dry leaves or shredded cardboard, and cover exposed scraps before closing the lid.
5. Do I need a special compost bin?
No. A ventilated bucket, wooden box, earthen pot, or wire-mesh enclosure can work. Ensure drainage, airflow, a cover, and sufficient space to mix materials comfortably during routine maintenance each week.
6. How often should I turn compost?
Turn or mix an outdoor compost pile every few days to once weekly, depending on its condition. Regular aeration can speed decomposition, while careful mixing prevents compaction and stale odours.
7. How do I know my compost is ready?
Compost is ready when it appears dark brown, crumbly, and earthy, with few recognisable scraps. If fresh material remains or the centre reheats after turning, allow more time before using it.
Do you have any questions, suggestions, or contributions? If so, please feel free to use the comment box below to share your thoughts. We also encourage you to kindly share this information with others who might benefit from it. Since we can’t reach everyone at once, we truly appreciate your help in spreading the word. Thank you very much for your support and for sharing!
Read Also: The Practice of Composting Organic Waste Materials